

Table of Contents
In this post I explain how to install Ubuntu Server 20.04 LTS from a USB drive, how to properly set up the BIOS of your home server, how to easily access your Linux server from a Windows machine, and discuss the basic monitoring tools that I like to install on any new server.
This tutorial is aimed at beginners and does not cover more in-depth topics such as installing SSH keys or setting up a firewall. If you are interested in these topics then go to my next post!
Prerequisites
- A computer which you want to dedicate as server
- An empty USB drive
1. Download and burn Ubuntu ISO
First, download the Ubuntu ISO from here: https://ubuntu.com/download/server
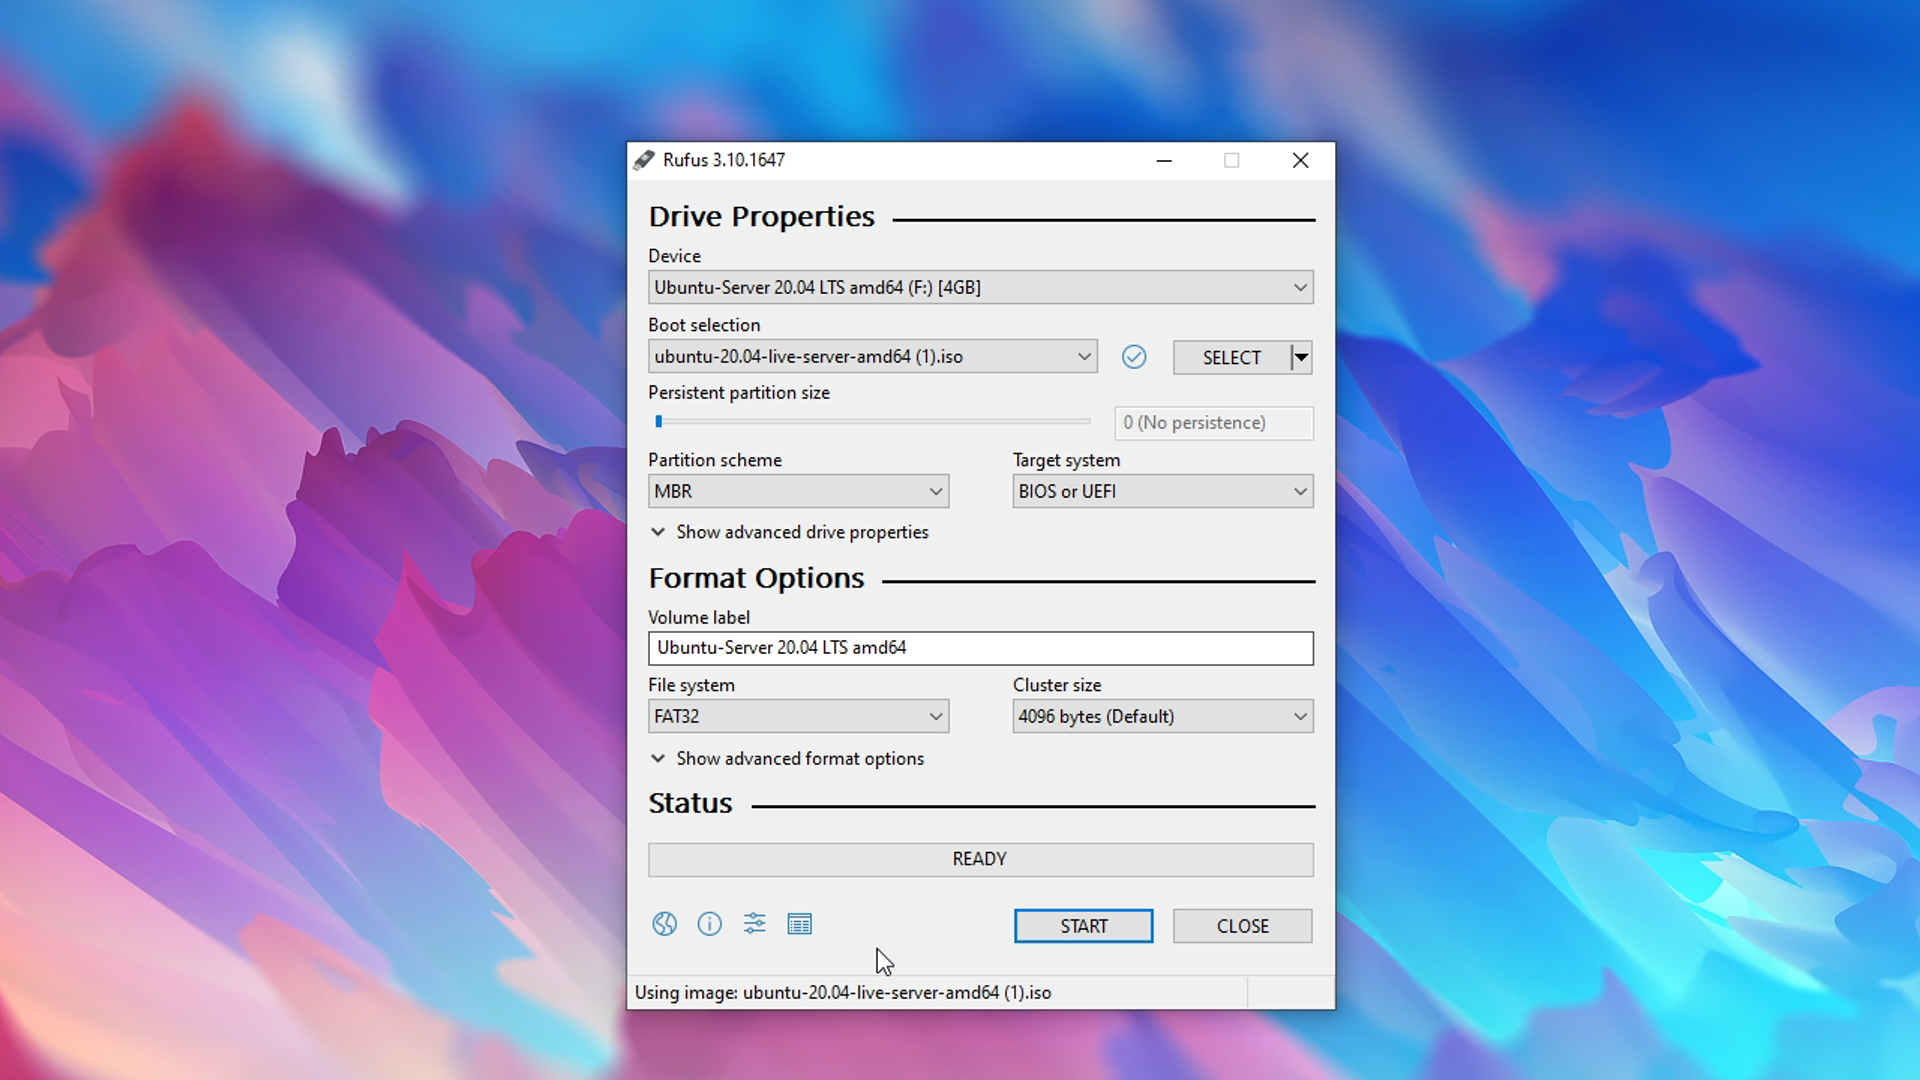
Then download a small utility which allows you to burn the ISO to a USB drive: https://rufus.ie/
- Run Rufus.exe
- Select your USB drive
- Select the Ubuntu 20.04 LTS ISO
- You can change the volume label if you want to
- Click on START
2. Configure your BIOS
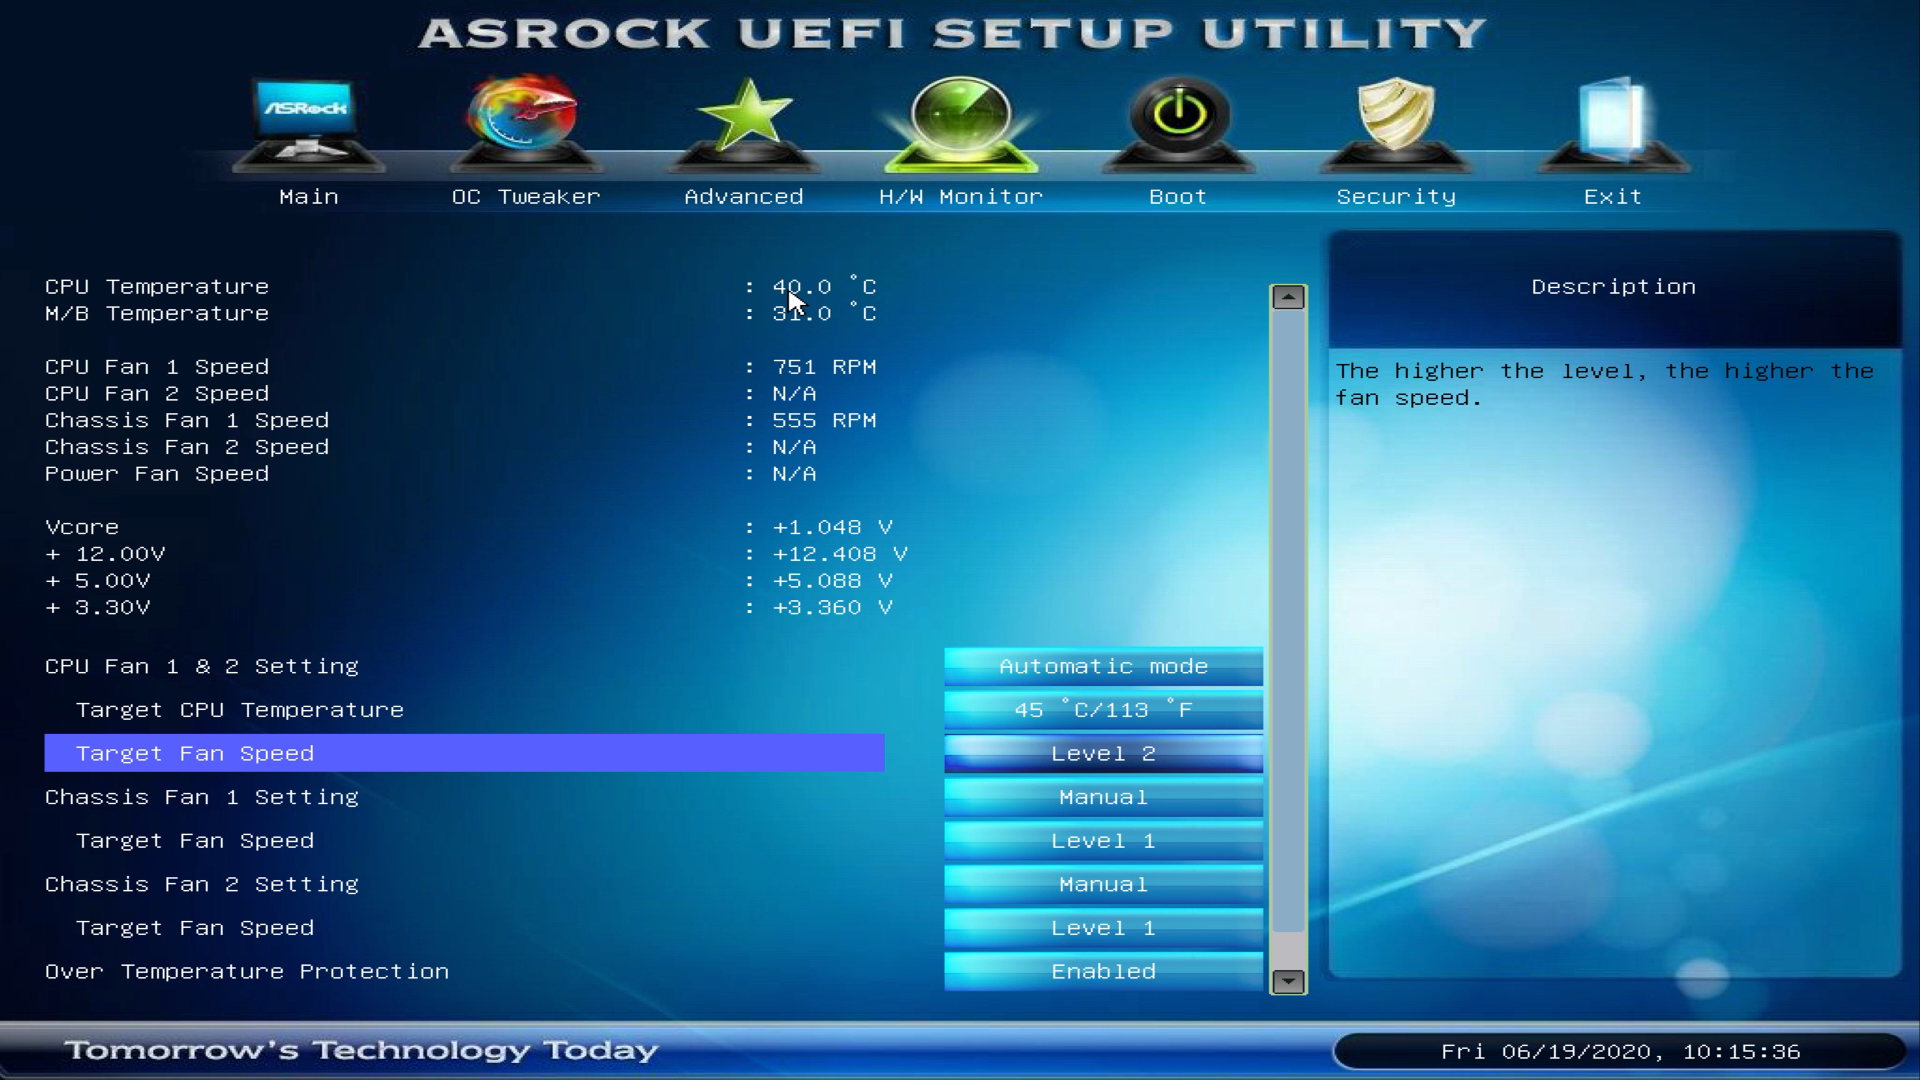
Before continuing with the installation of Ubuntu Server 20.04 LTS on your machine, you should set up a few options in the BIOS of your server. Most importantly, check whether all RAM sticks are properly recognized and if your CPU temperatures are in check.
- Set up your fan curves
- Make sure to select the correct primary graphics adapter: Either onboard or PCIe depending on whether you have a GPU installed or not (found under northbridge configuration on my board)
- Set your server to power on after power loss (found under southbridge configuration on my board)
- Enable boot from LAN (listed under boot on my board)
- Modify boot order to boot from USB drive first!
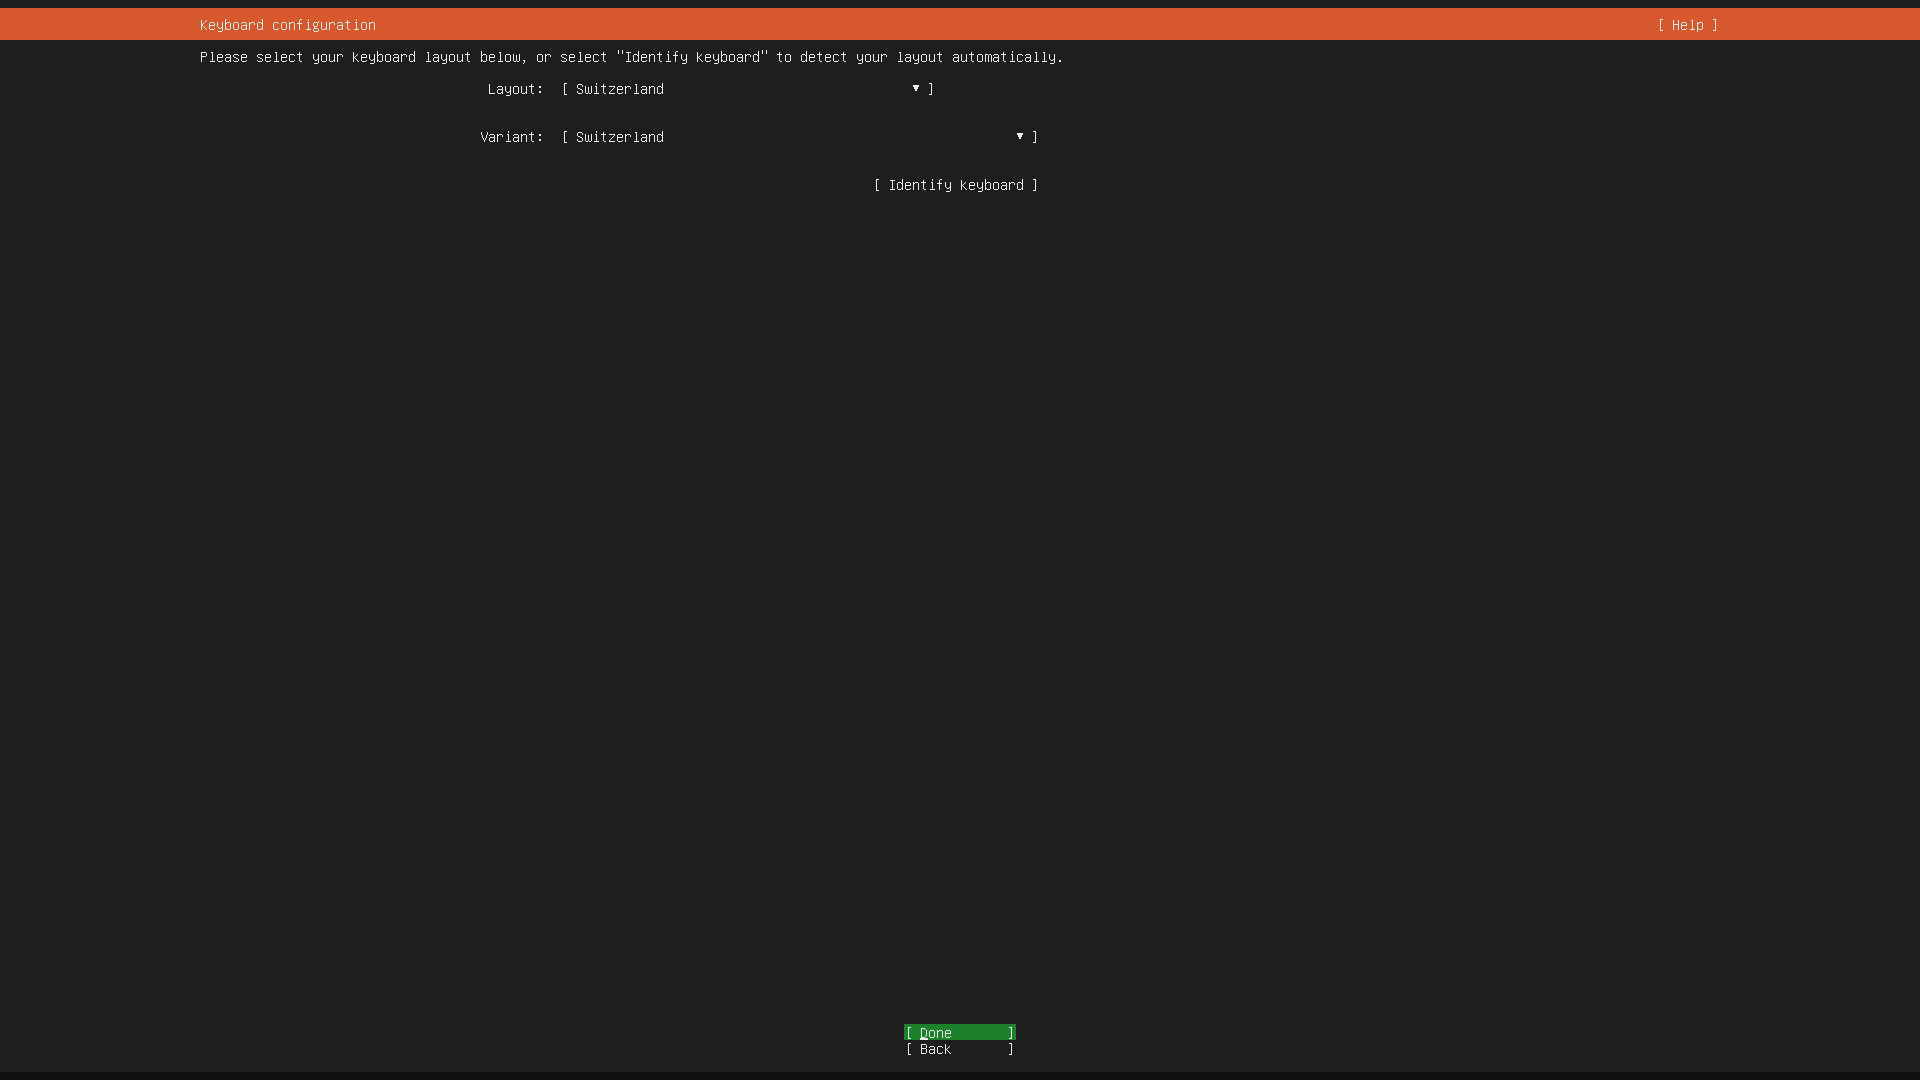
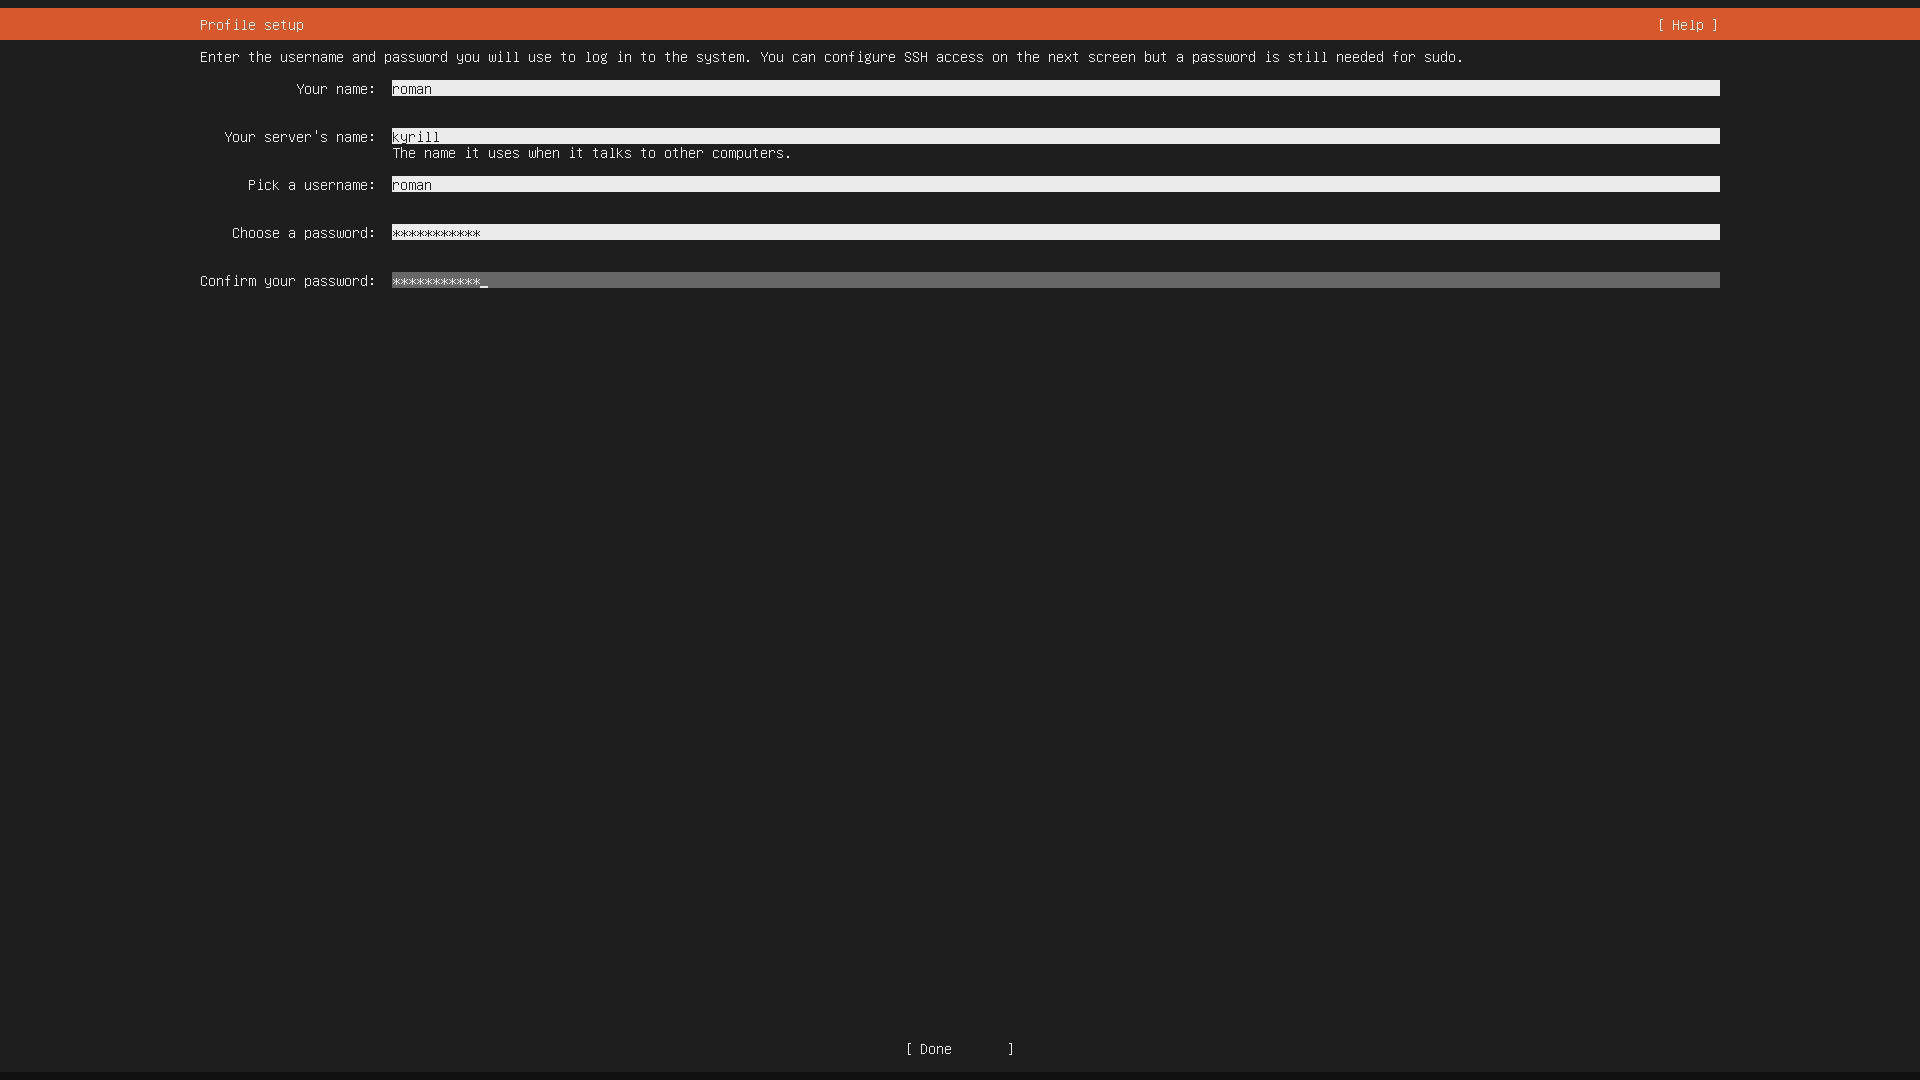
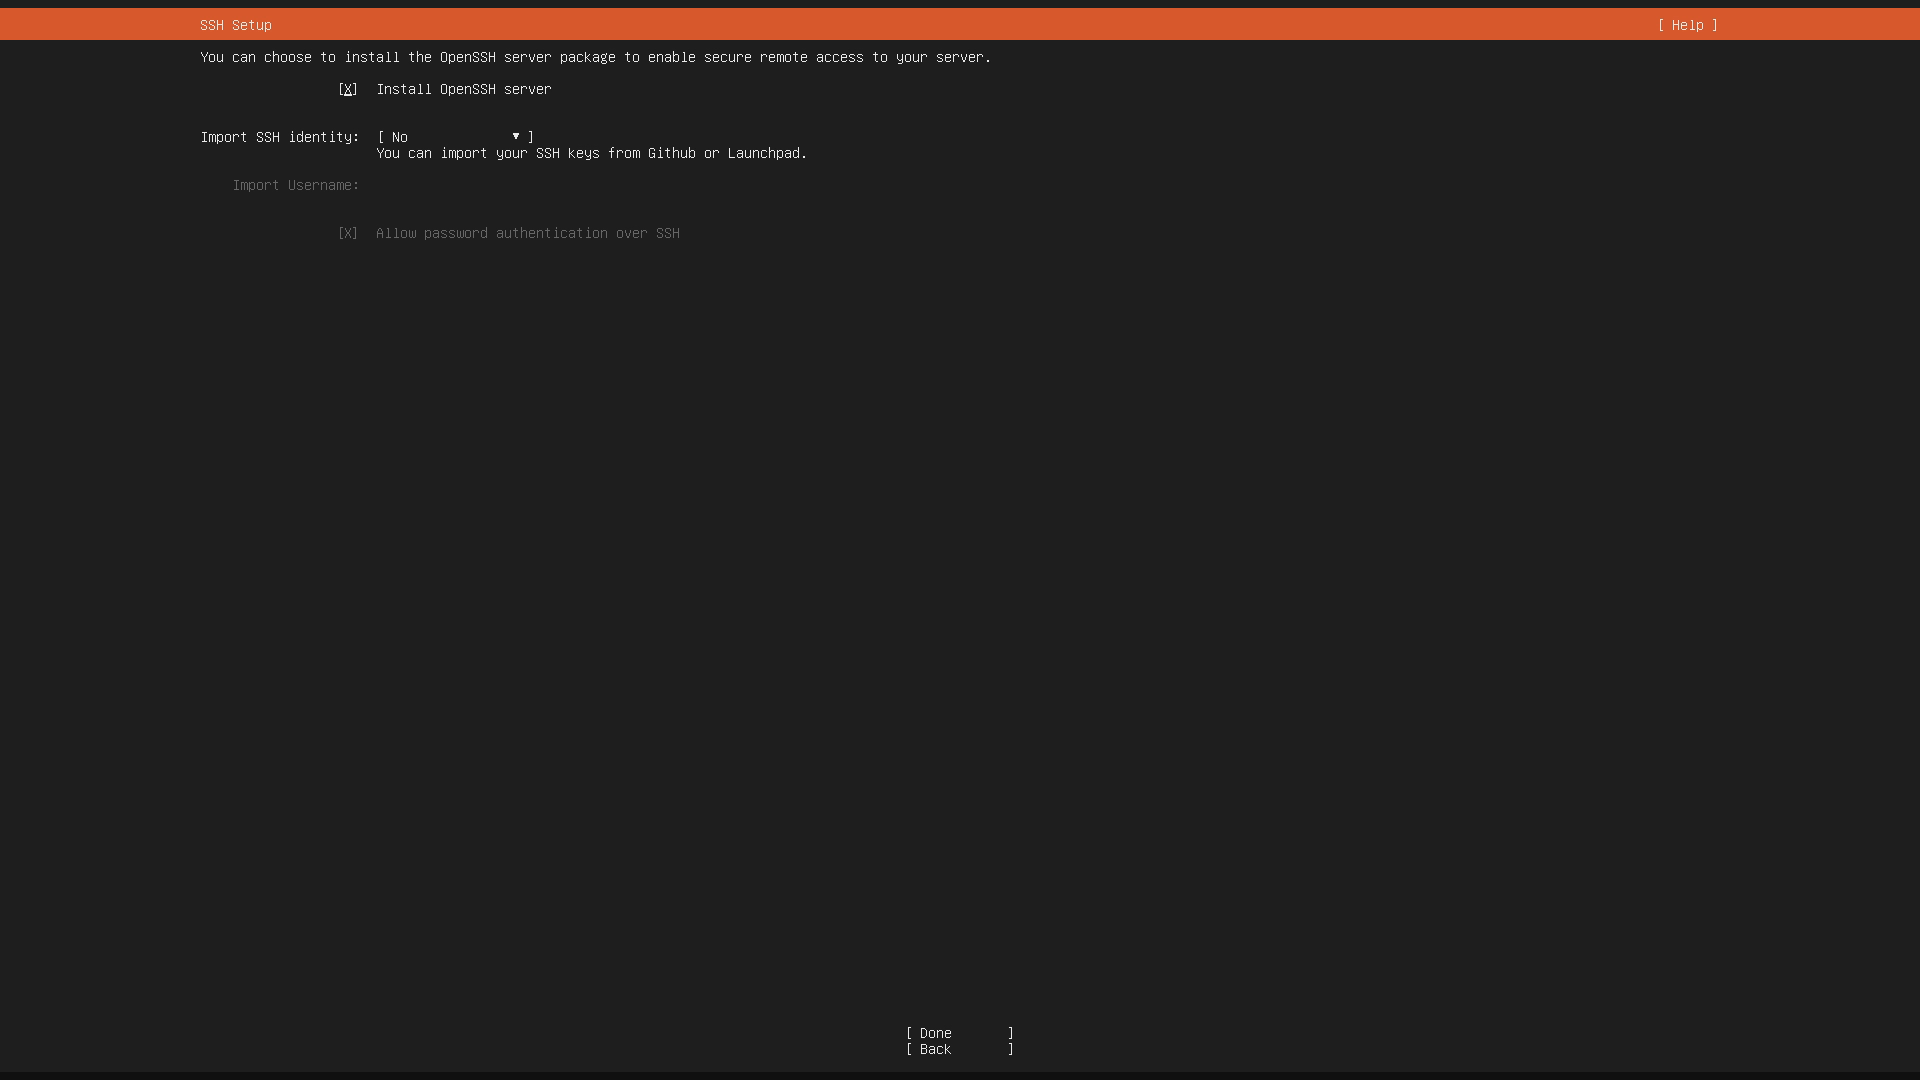
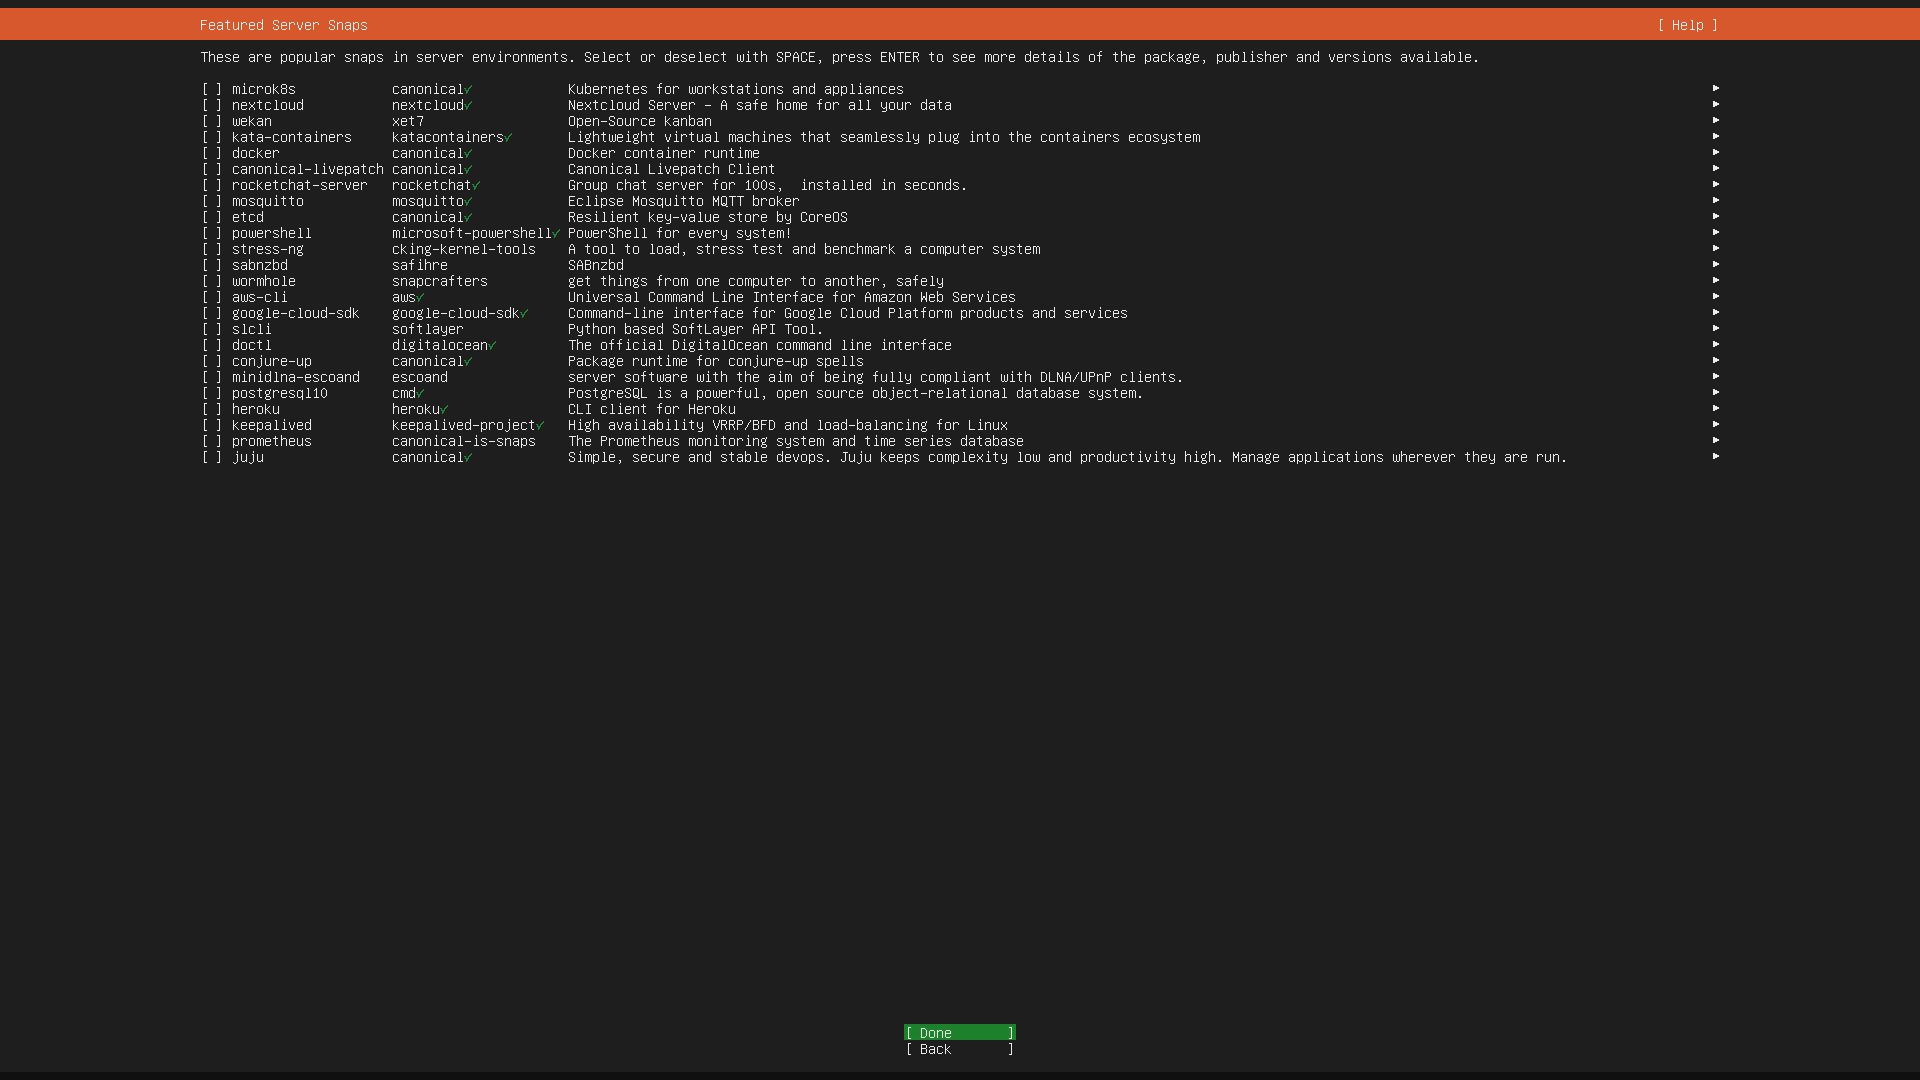
3. Install Ubuntu Server 20.04 LTS

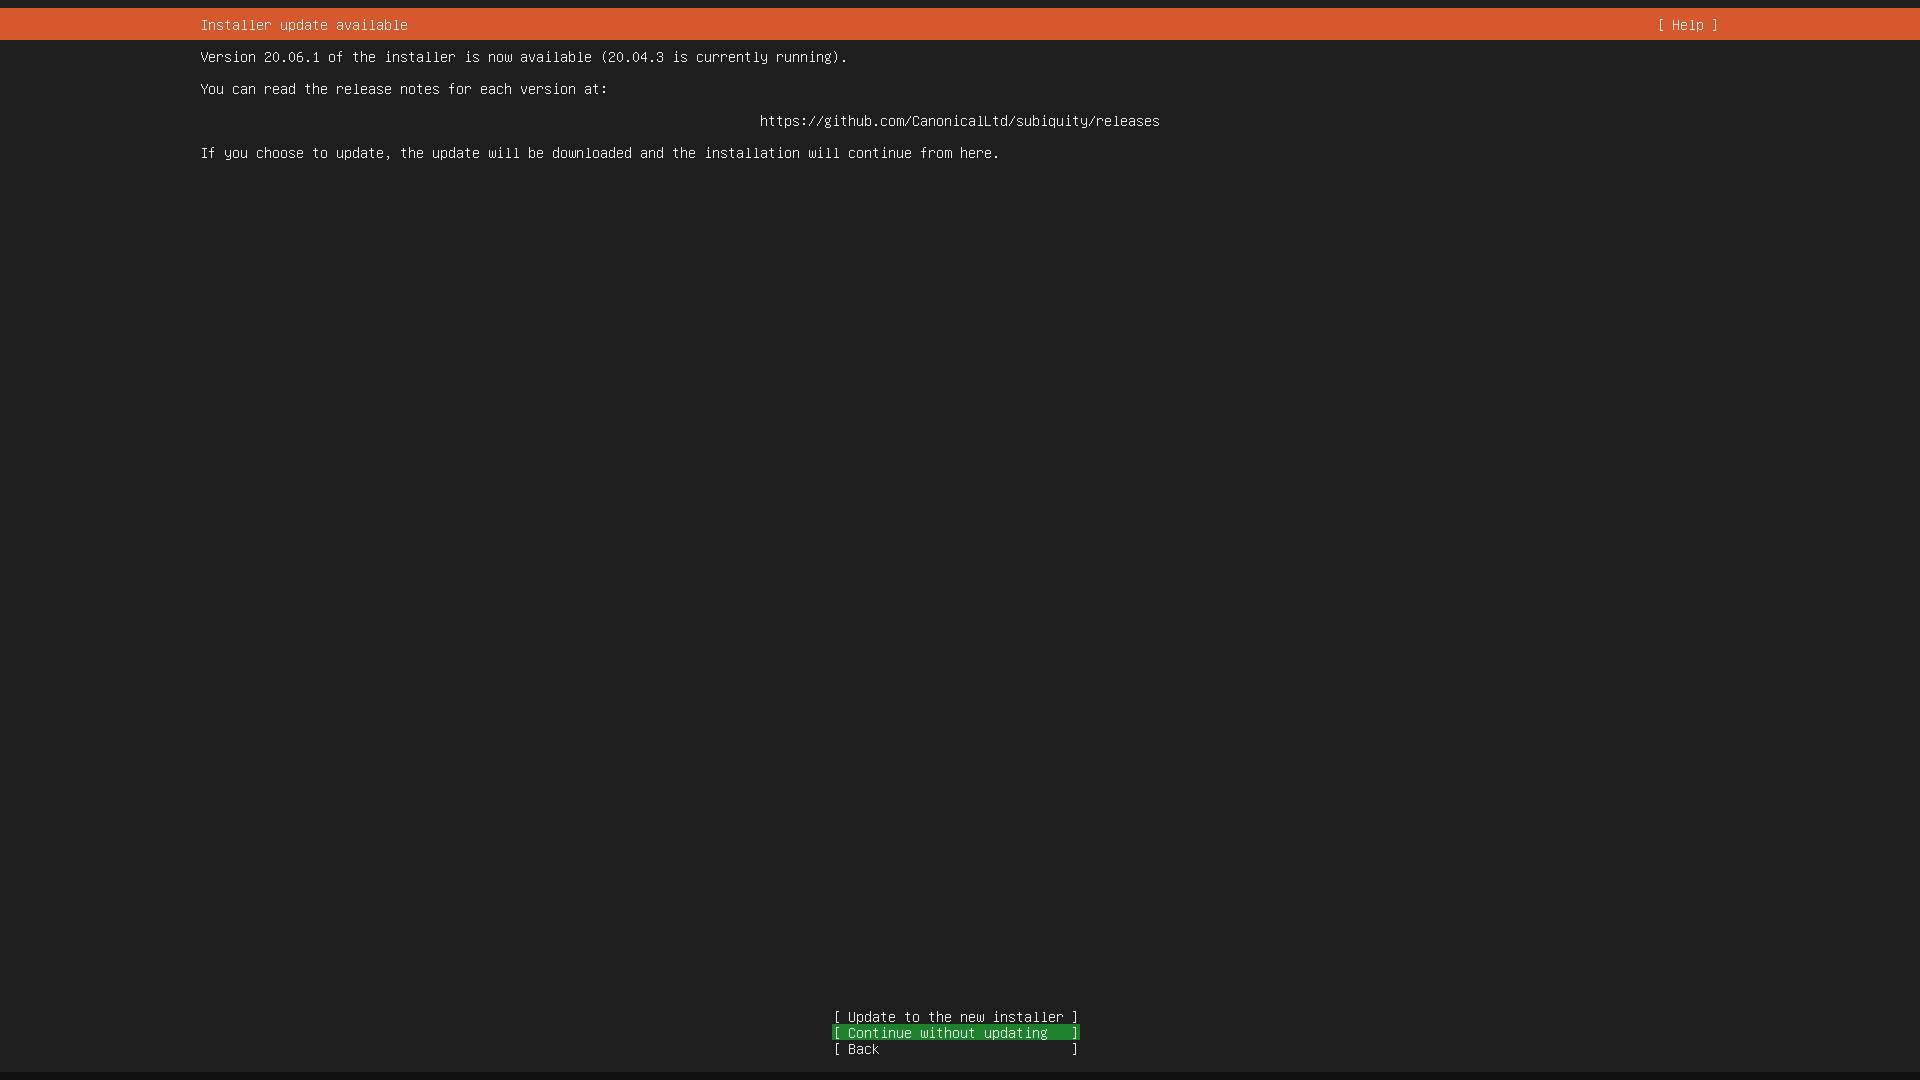
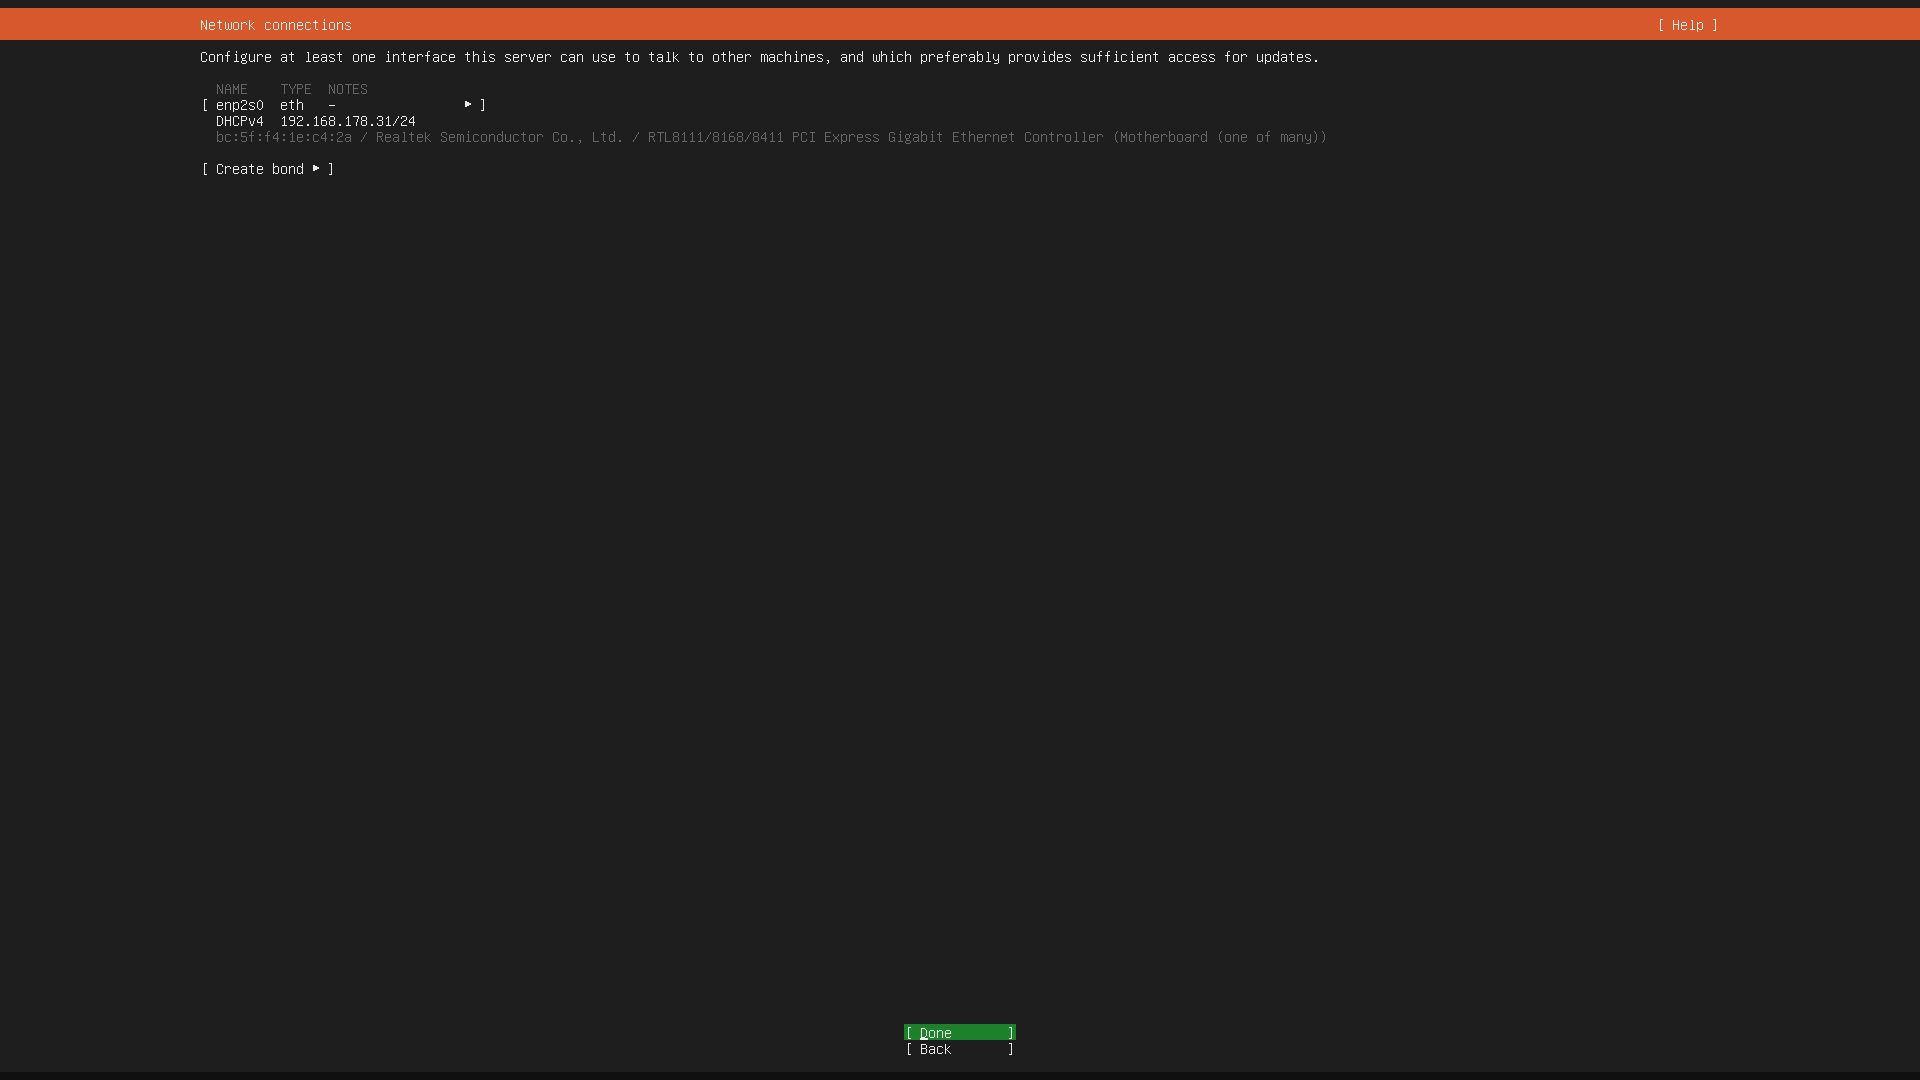
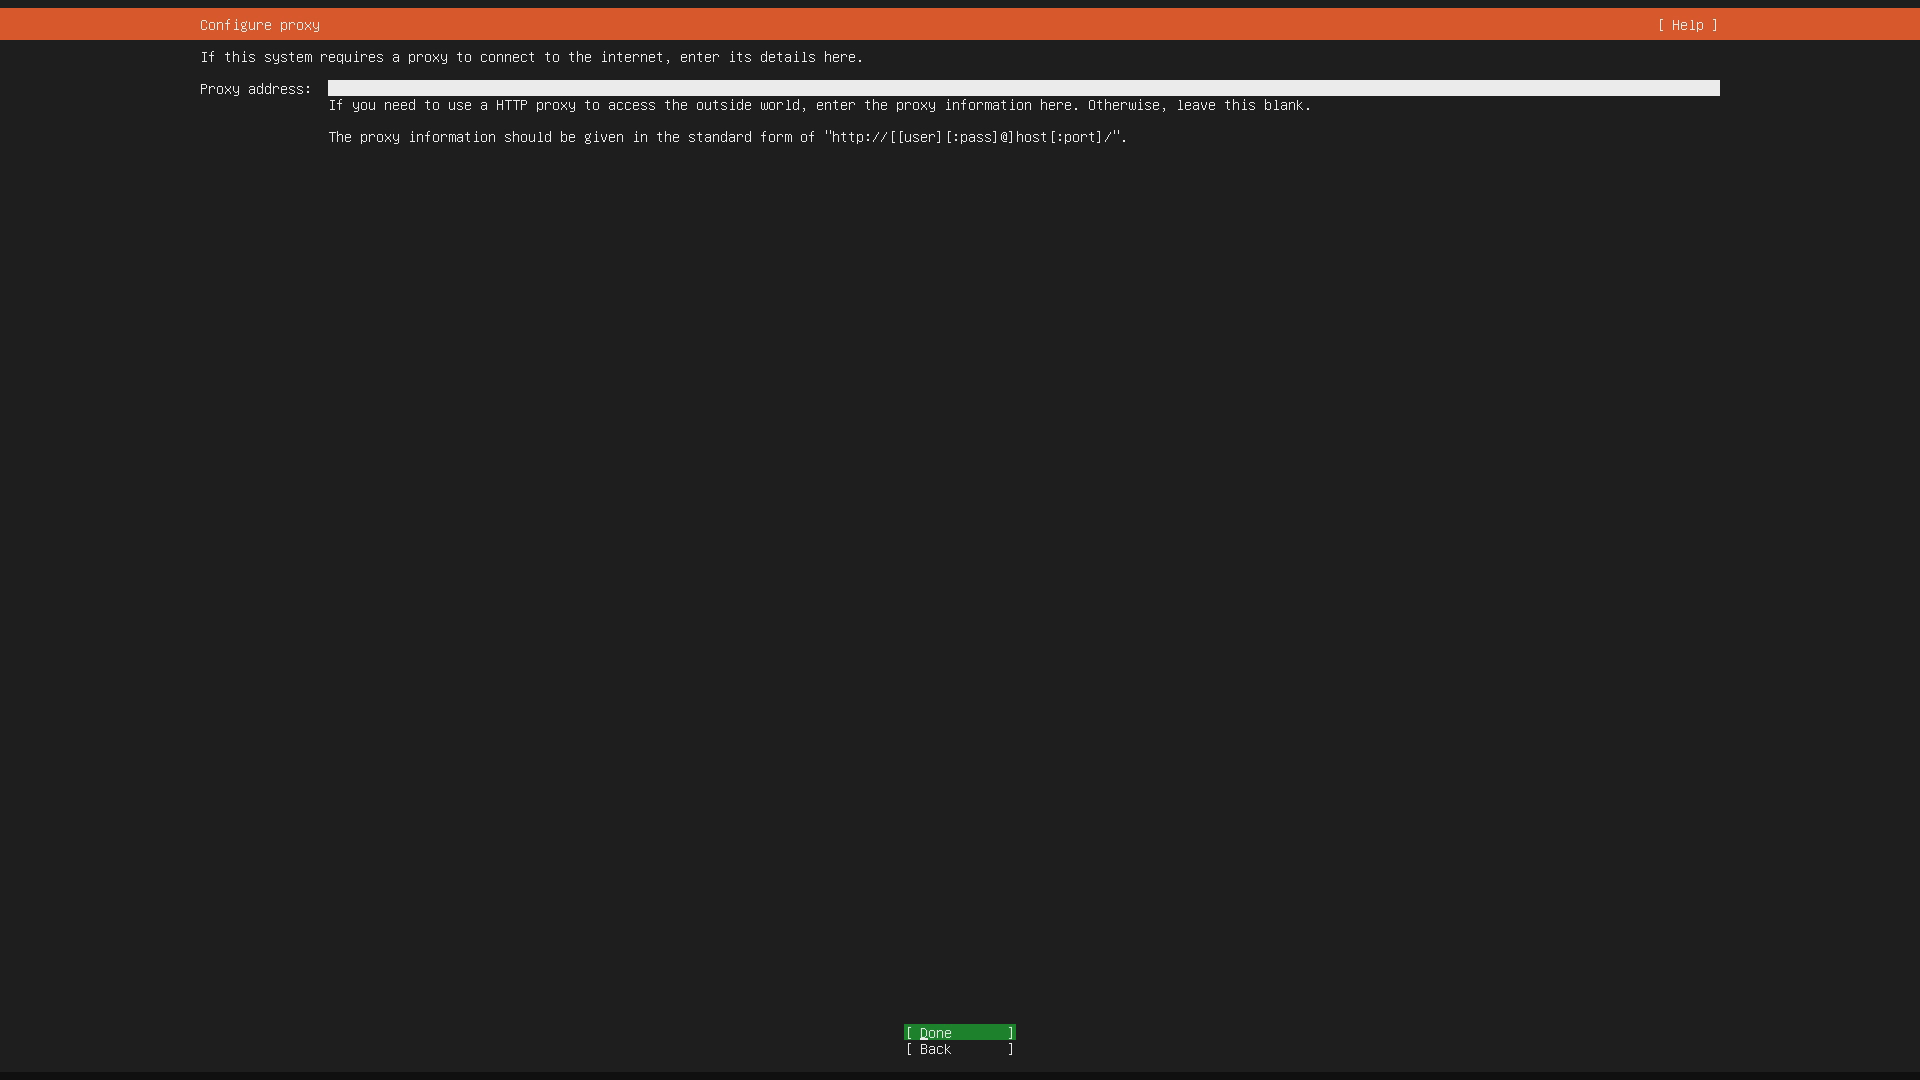
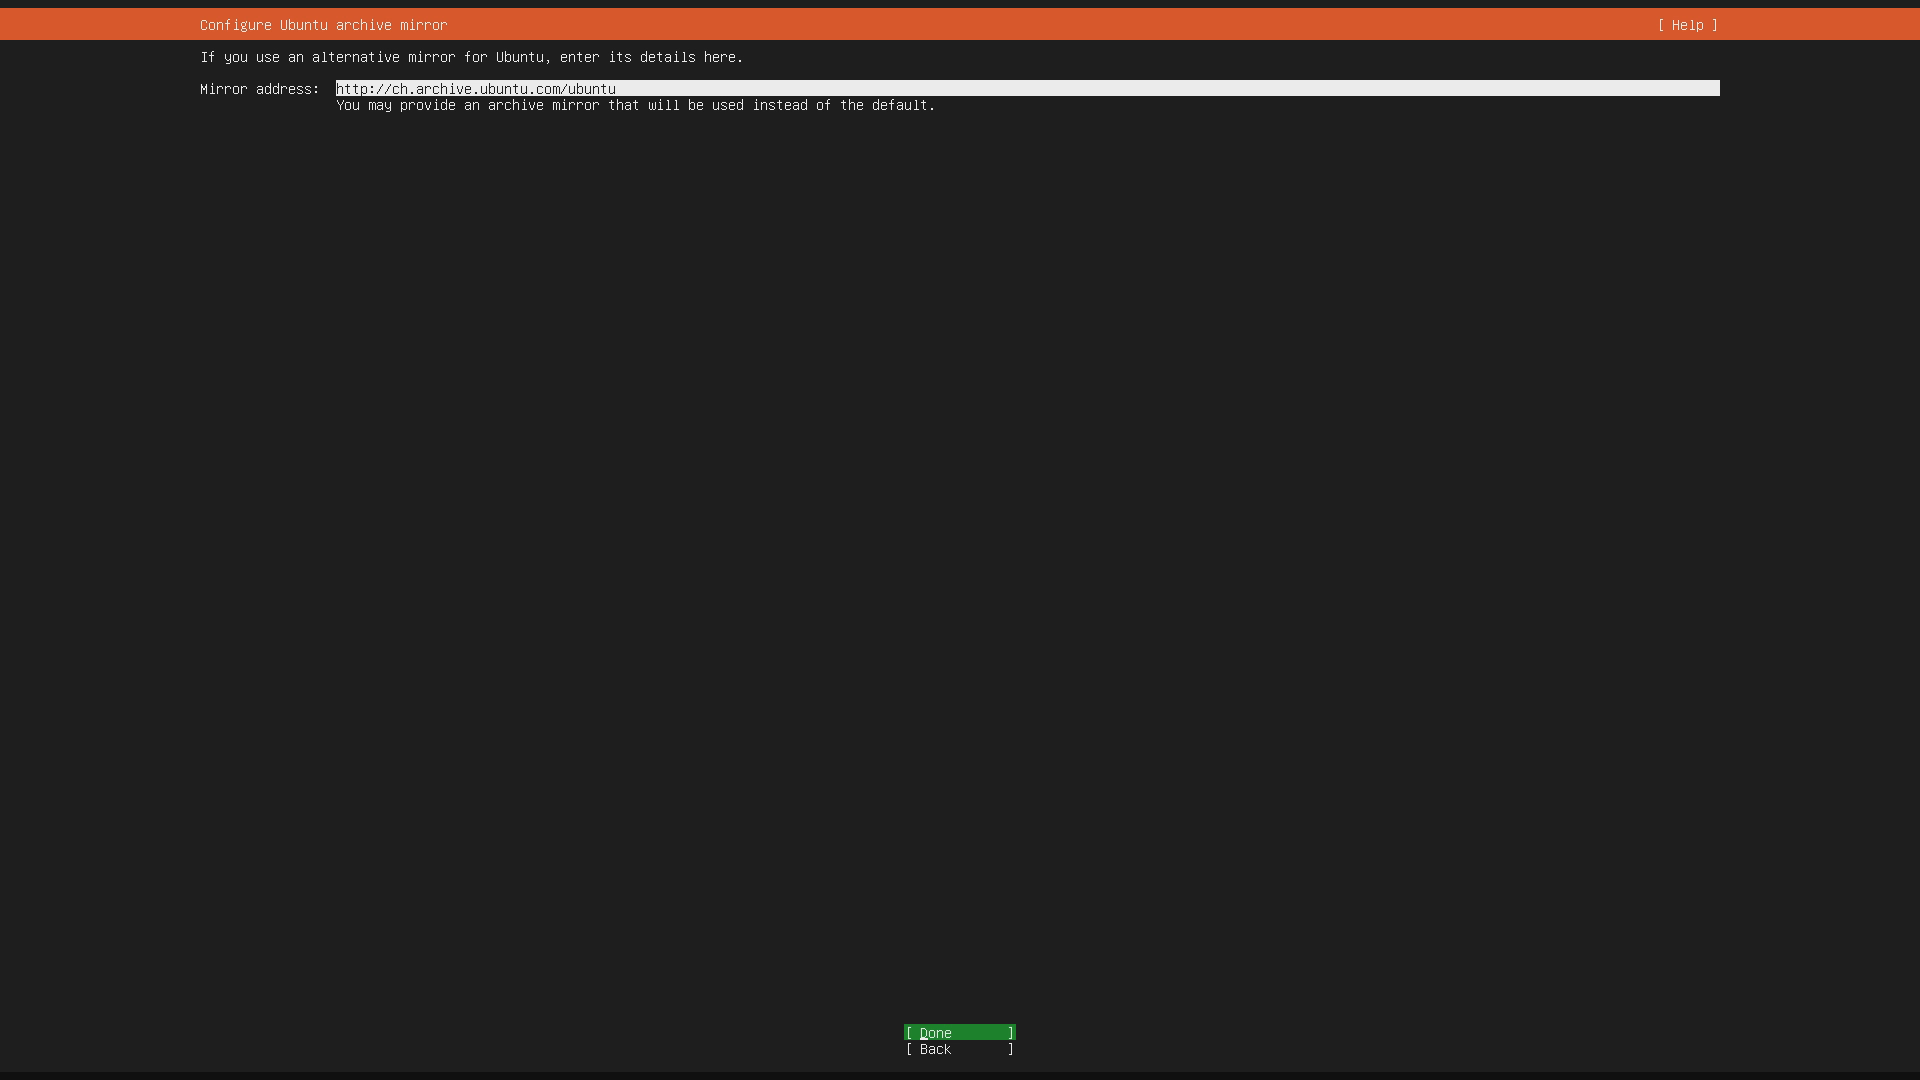
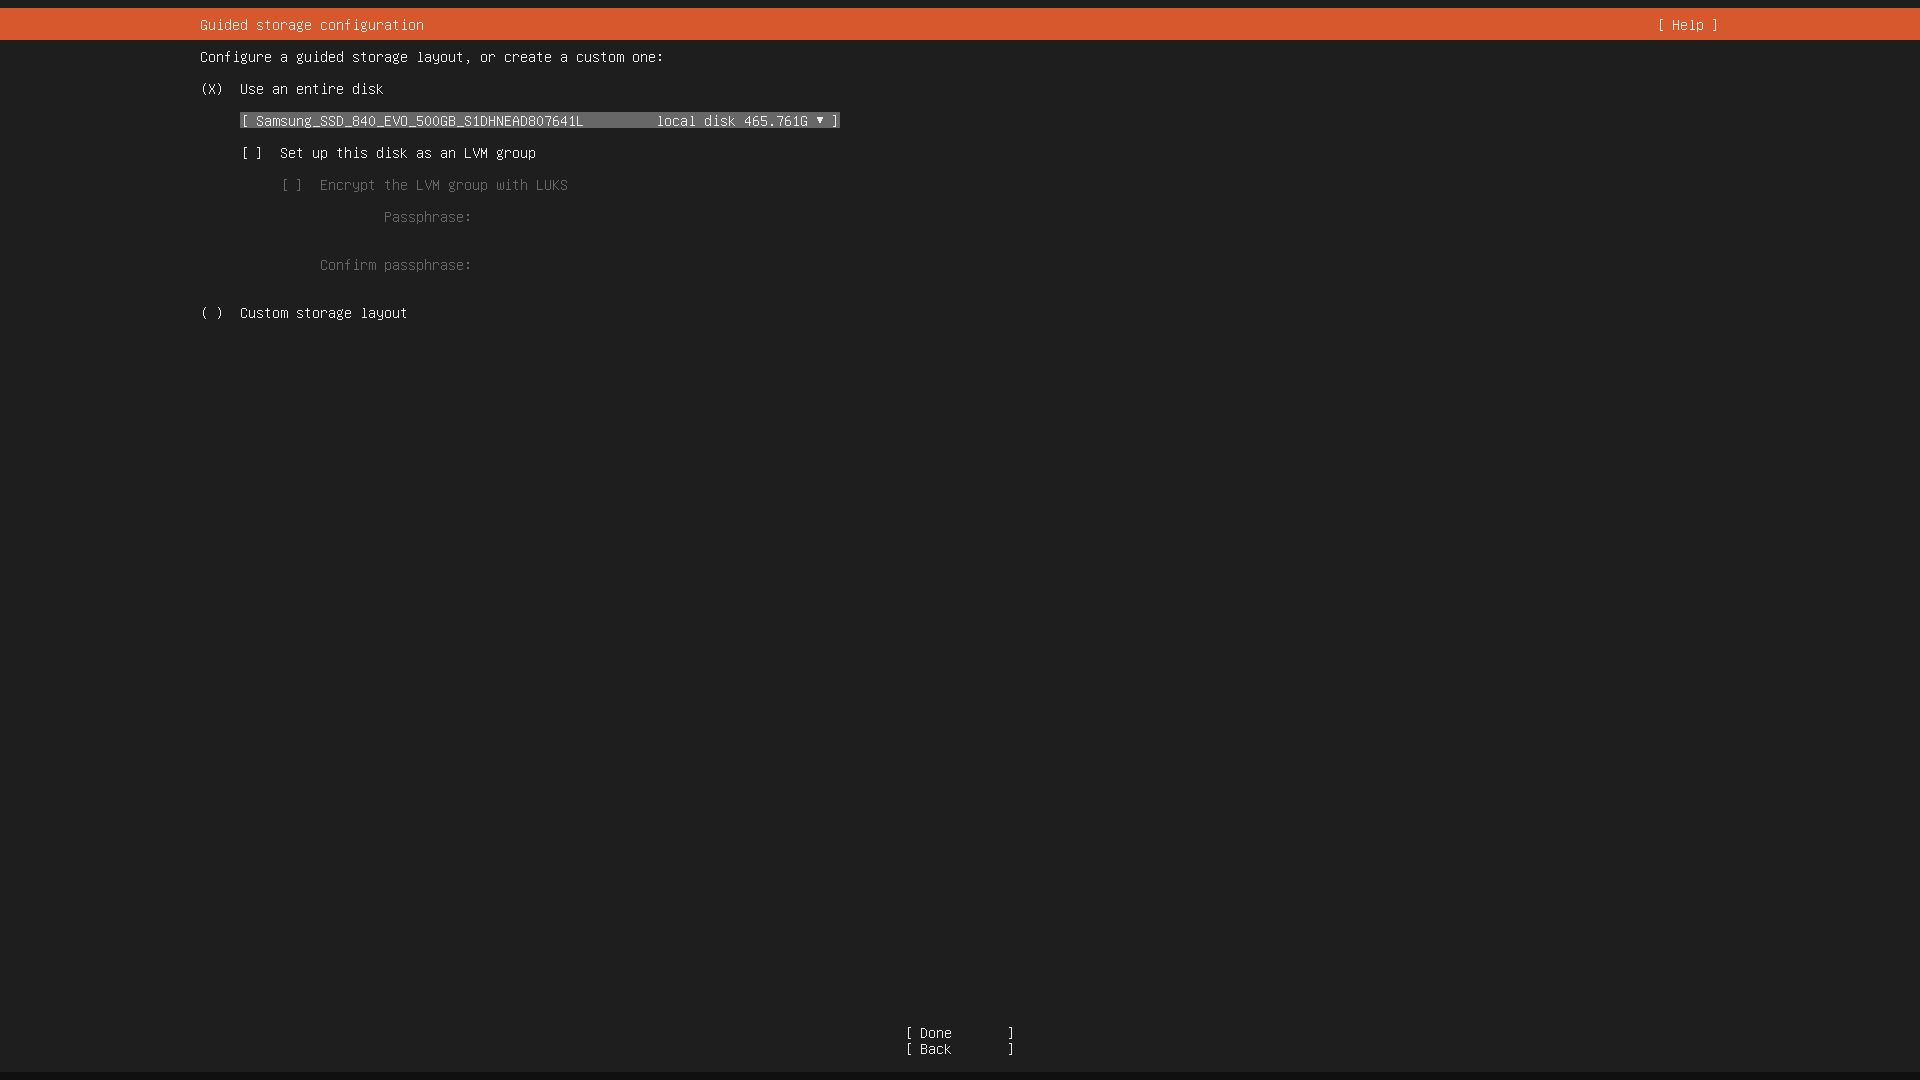
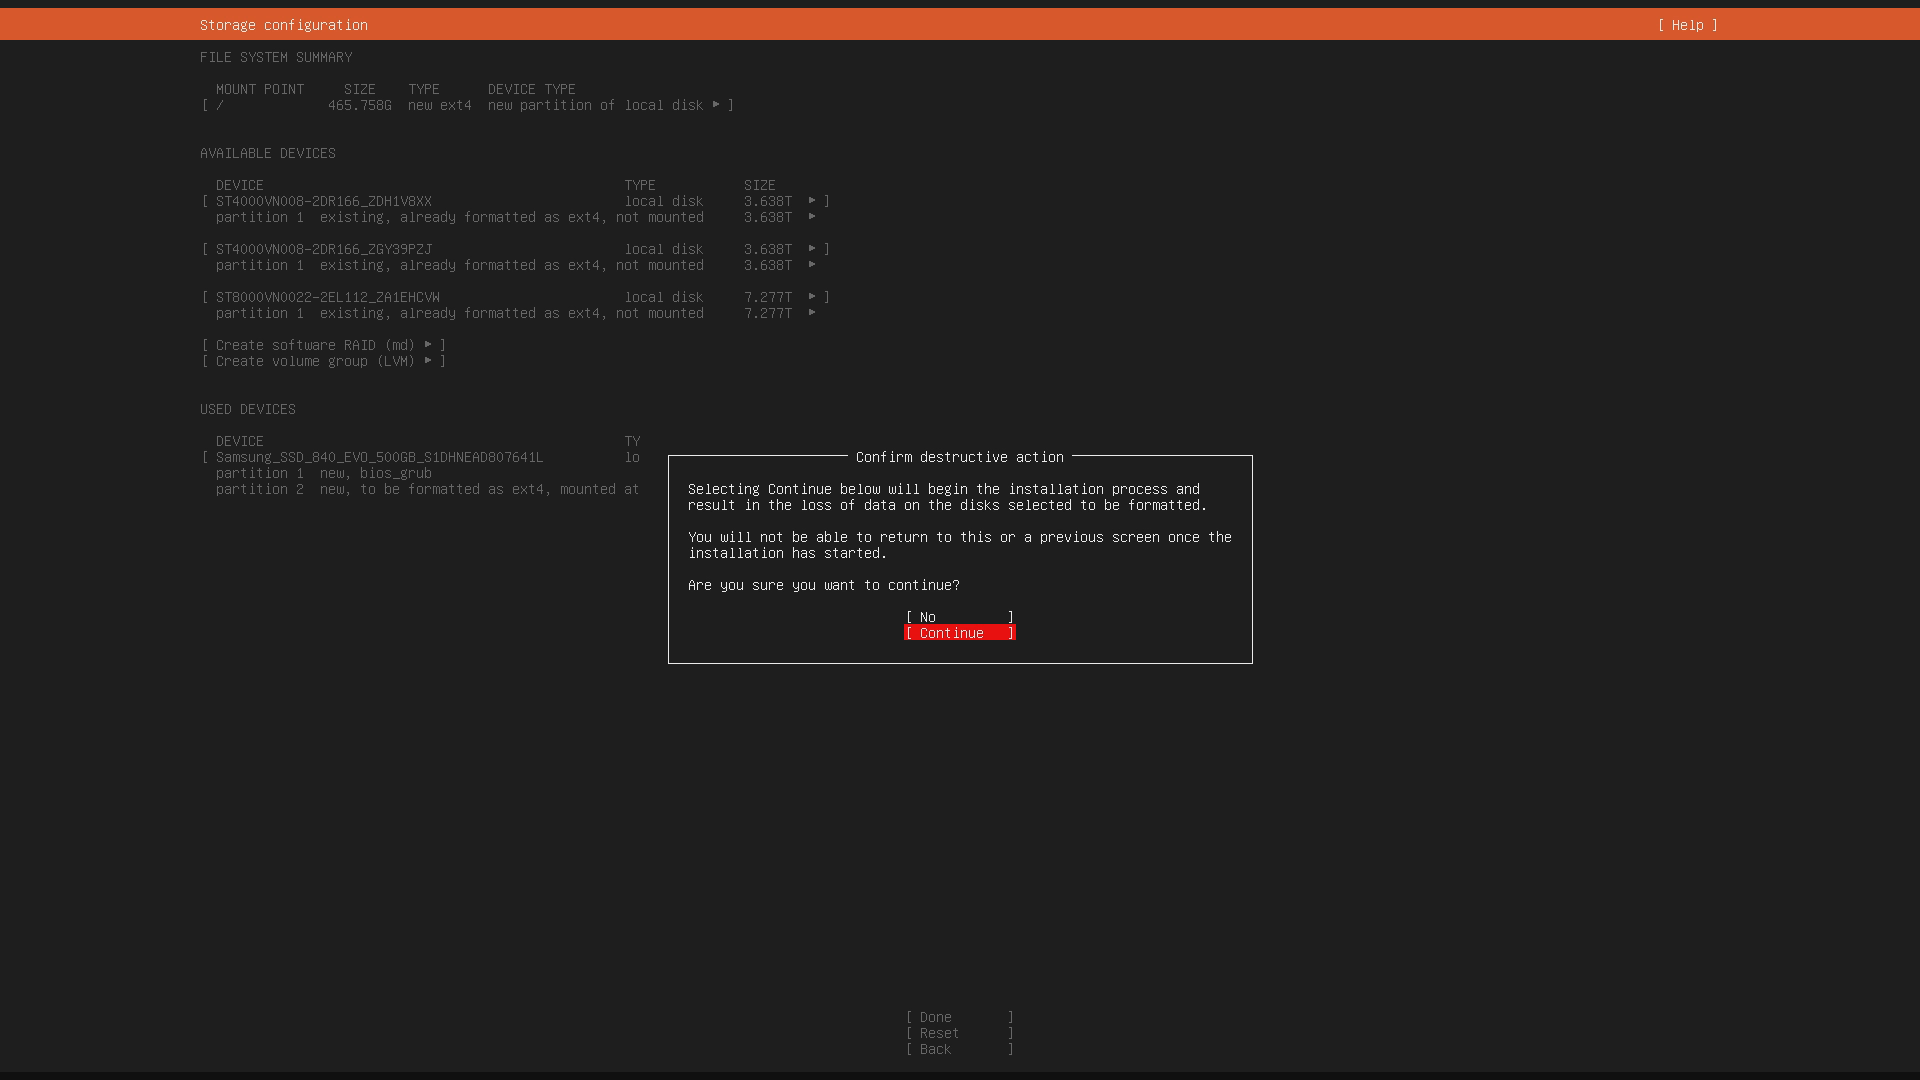
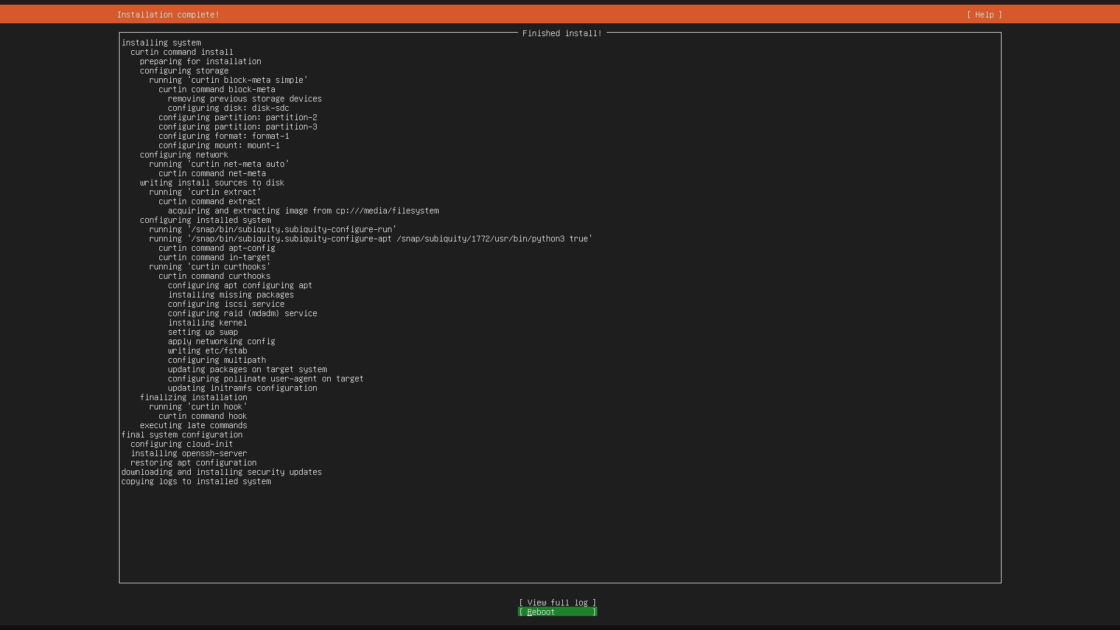
Make sure to unplug your USB drive from the server after hitting “REBOOT” as otherwise you will go into an infinite loop of installing Ubuntu over and over again!
You should now be able to log-in on your server using the username and password specified during the installation procedure.
4. Setting up your router
I personally prefer not needing to connect a mouse, keybard, and monitor to my home server and rather administrate it from my Windows machine.
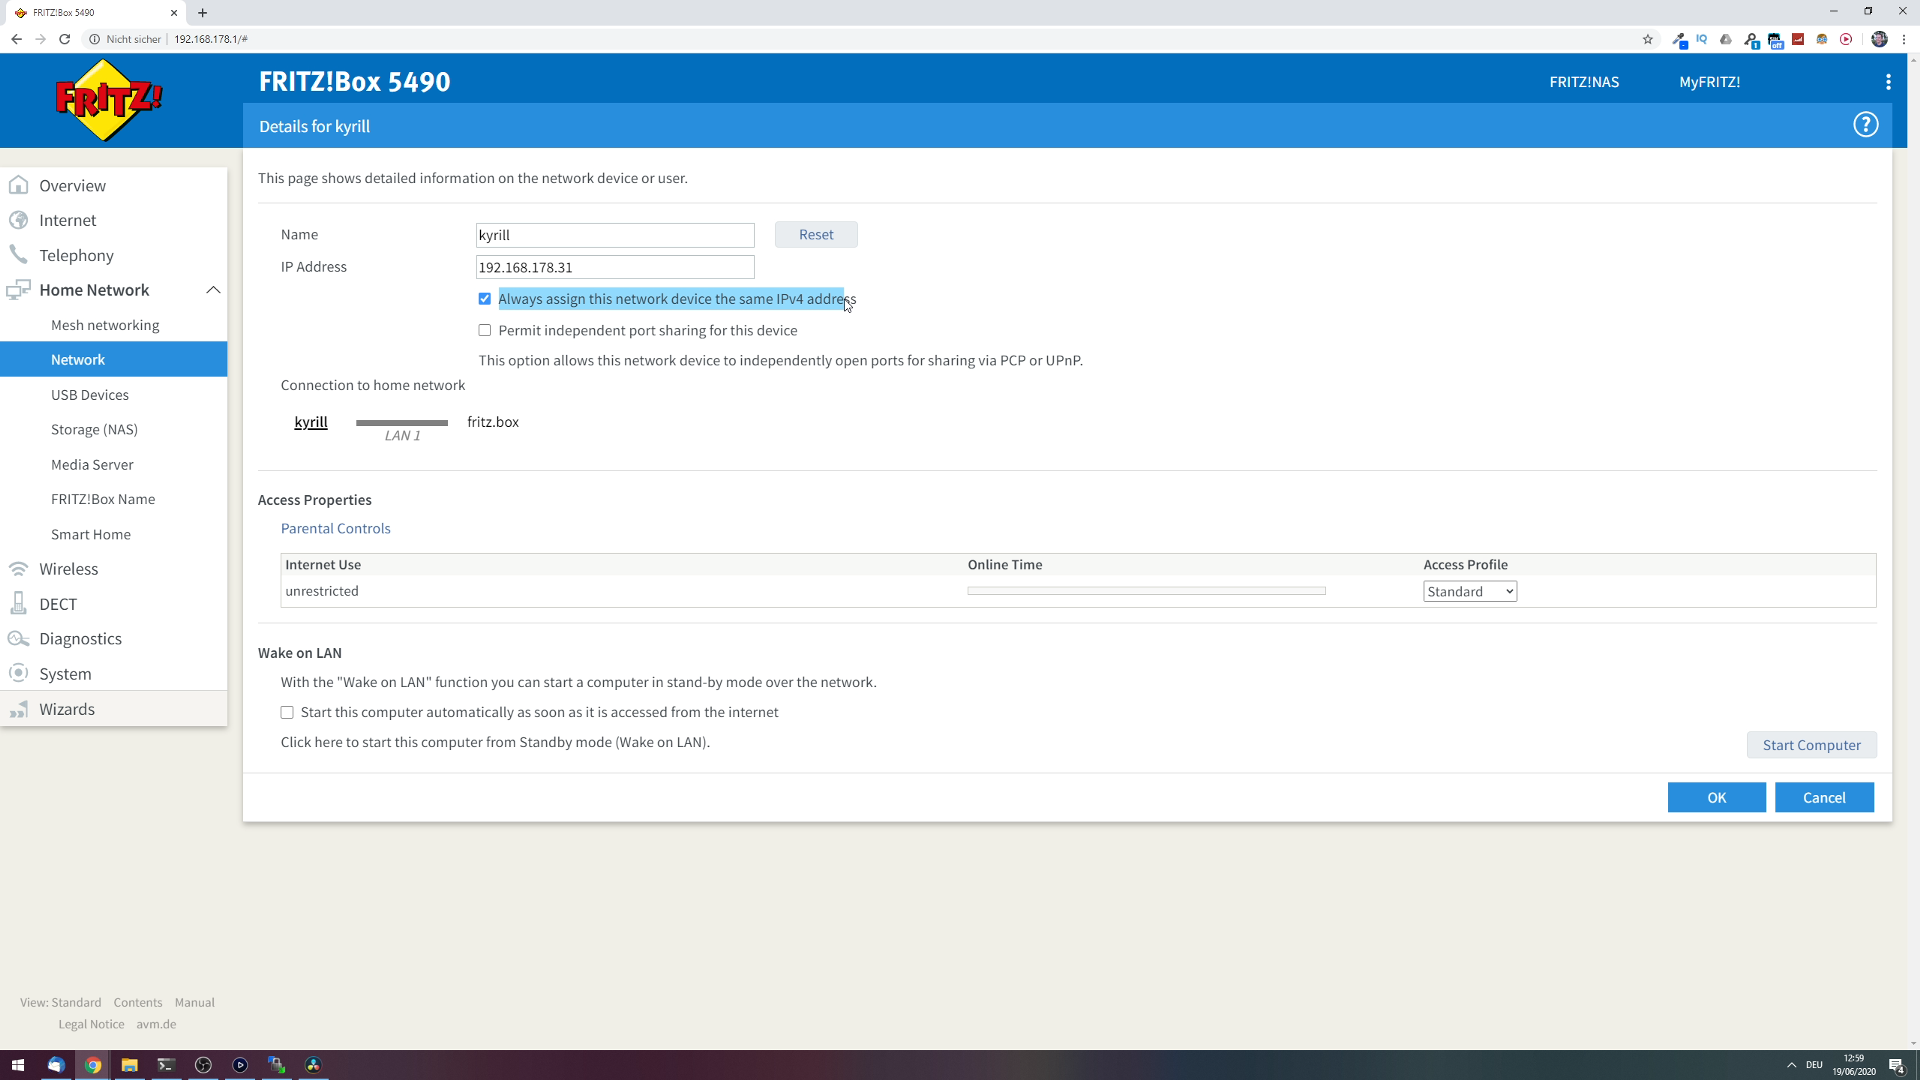
To this end, we need to configure a few things in our router’s settings. Enter 192.168.1.1 or whatever the default gateway of your router is (you can generally find this information on a sicker attached to the back of your router) and log in (again, login credentials are often found on your router).
Go to the network configuration and make sure that you always assign the same local IP address to your home server. This is important, because we want to use this IP address when we connect to our server from another computer in our network.
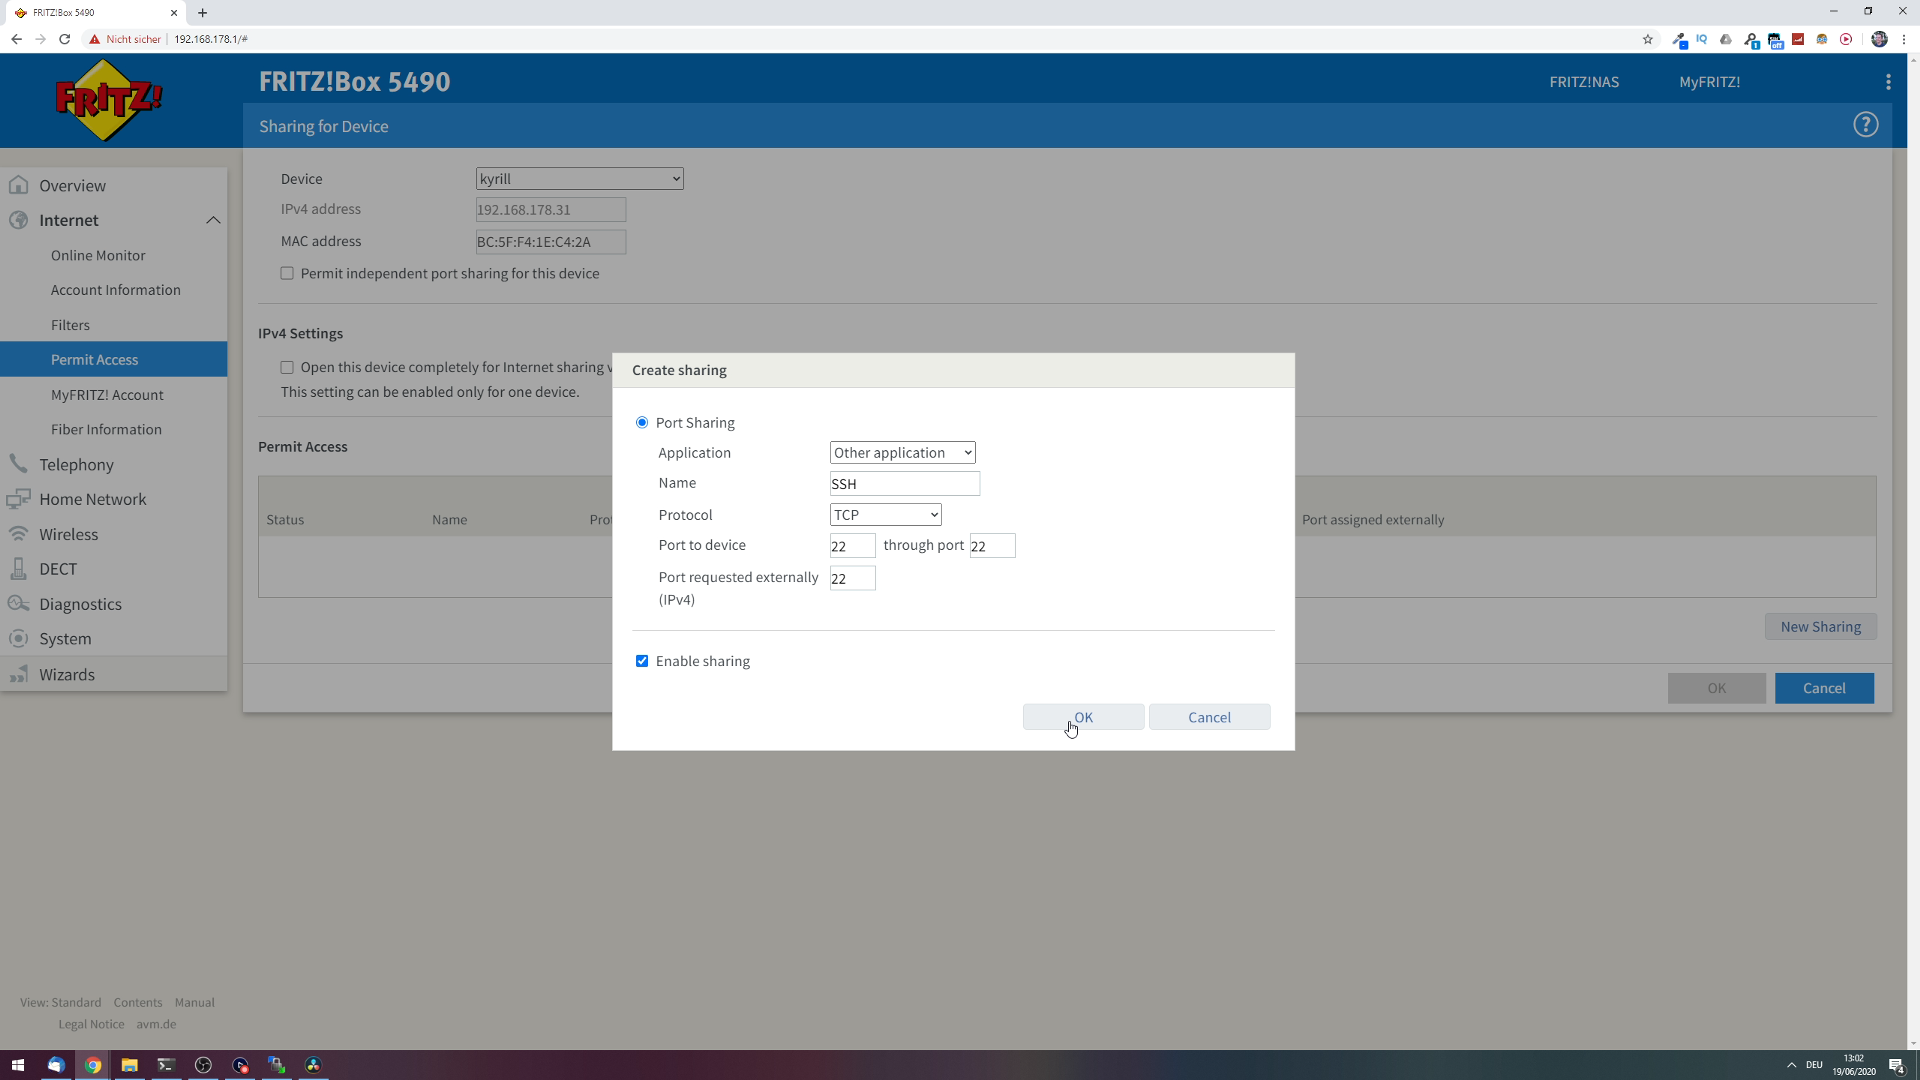
Additionally, if you want to be able to adminstrate your server from outside of your home network, you need to port-forward port 22 to your home server.
Port forwarding the default port (22) for SSH is not considered to be best practice. This can open your server to brute force attacks on your server. I will explain how to set up a different port and how to properly secure your home server in my next post!
5. Access server from Windows
In order to access my home server from Windows, I like to enable the WSL (windows subsystem for Linux) and use the Windows Terminal app.
Here’s a tutorial on how to install WSL on your Windows machine: https://docs.microsoft.com/en-us/windows/wsl/install-win10
You can log-in to your server using the following command:
ssh <username>@<ip_address>where <username> is the username which you have just set up above and <ip_address> your server’s local IP address.
Alternatively, you can also set up an alias, which lets you ssh to your server much more conveniently
alias kyrill="ssh roman@192.168.178.31"6. Initial server setup
The first steps you should take after installing Ubuntu Server 20.04 LTS is to update your server
sudo apt update
sudo apt upgrade
Additionally, I like to completely remove snap since I prefer to install my applications the regular way (this step is optional). For this, first list all installed snaps
sudo snap list
Name    Version   Rev    Tracking       Publisher   Notes
core18  20200724  1889   latest/stable  canonical✓  base
lxd     4.0.2     16751  4.0/stable/…   canonical✓  -
snapd   2.45.3.1  8792   latest/stable  canonical✓  snapd
then remove all snaps, uninstall snapd, and remove any remaining snap directories.
sudo snap remove lxd
sudo snap remove core18
sudo snap remove <any other installed snaps>
sudo snap remove snapd
sudo apt purge snapd
rm -rf ~/snap
Make sure to uninstall the snap core least in order to avoid any issues while uninstalling snapd
7. Monitor temperatures
Finally, here are a few useful tools that allow you to monitor your servers CPU and HDD temperatures.
First, install lm-sensors and detect available temperature sensors
sudo apt install lm-sensors
sudo sensors-detect
There will be a bunch of questions that pop up during <sensors-detect> which you should all answer with yes.
Next, reboot your system
sudo reboot nowNow you can type <sensors> in order to get a load of information on your systems temperatures
roman@kyril:~$ sensors
iwlwifi_1-virtual-0
Adapter: Virtual device
temp1:        +38.0°C

nct6798-isa-0290
Adapter: ISA adapter
in0:                   544.00 mV (min =  +0.00 V, max =  +1.74 V)
in1:                     1.71 V  (min =  +0.00 V, max =  +0.00 V)  ALARM
in2:                     3.46 V  (min =  +0.00 V, max =  +0.00 V)  ALARM
in3:                     3.33 V  (min =  +0.00 V, max =  +0.00 V)  ALARM
in4:                     1.86 V  (min =  +0.00 V, max =  +0.00 V)  ALARM
in5:                     1.02 V  (min =  +0.00 V, max =  +0.00 V)  ALARM
in6:                     1.20 V  (min =  +0.00 V, max =  +0.00 V)  ALARM
in7:                     3.46 V  (min =  +0.00 V, max =  +0.00 V)  ALARM
in8:                     3.31 V  (min =  +0.00 V, max =  +0.00 V)  ALARM
in9:                     1.66 V  (min =  +0.00 V, max =  +0.00 V)  ALARM
in10:                    1.02 V  (min =  +0.00 V, max =  +0.00 V)  ALARM
in11:                  632.00 mV (min =  +0.00 V, max =  +0.00 V)  ALARM
in12:                    1.04 V  (min =  +0.00 V, max =  +0.00 V)  ALARM
in13:                  928.00 mV (min =  +0.00 V, max =  +0.00 V)  ALARM
in14:                  904.00 mV (min =  +0.00 V, max =  +0.00 V)  ALARM
fan1:                     0 RPM  (min =    0 RPM)
fan2:                   843 RPM  (min =    0 RPM)
fan3:                     0 RPM  (min =    0 RPM)
fan4:                   483 RPM  (min =    0 RPM)
fan5:                   484 RPM  (min =    0 RPM)
fan6:                  2008 RPM  (min =    0 RPM)
fan7:                     0 RPM  (min =    0 RPM)
SYSTIN:                 +41.0°C    sensor = thermistor
CPUTIN:                 +36.0°C  (high = +80.0°C, hyst = +75.0°C)  sensor = thermistor
AUXTIN0:                +15.0°C    sensor = thermistor
AUXTIN1:                -60.0°C    sensor = thermistor
AUXTIN2:                +12.0°C    sensor = thermistor
AUXTIN3:                +31.0°C    sensor = thermistor
SMBUSMASTER 1:          +66.0°C  (high = +105.0°C, hyst = +95.0°C)
SMBUSMASTER 0:          +42.5°C
PCH_CHIP_CPU_MAX_TEMP:   +0.0°C
PCH_CHIP_TEMP:           +0.0°C
intrusion0:            ALARM
intrusion1:            ALARM
beep_enable:           disabled

nouveau-pci-0e00
Adapter: PCI adapter
GPU core:    881.00 mV (min =  +0.60 V, max =  +1.27 V)
fan1:           0 RPM
temp1:        +53.0°C  (high = +95.0°C, hyst =  +3.0°C)
                       (crit = +105.0°C, hyst =  +5.0°C)
                       (emerg = +135.0°C, hyst =  +5.0°C)
power1:       24.72 W  (crit = 241.00 mW)

k10temp-pci-00c3
Adapter: PCI adapter
Tdie:         +42.0°C  (high = +70.0°C)
Tctl:         +42.0°C

enp13s0-pci-0d00
Adapter: PCI adapter
PHY Temperature:  +68.9°C
To monitor your hard drive temperatures, install hddtemp
sudo apt install hddtempNext, get the drive identifier for any hard drive you want to check by typing
roman@kyril:~$ sudo fdisk -l
Disk /dev/sdb: 7.28 TiB, 8001563222016 bytes, 15628053168 sectors
Disk model: ST8000VN004-2M21
Units: sectors of 1 * 512 = 512 bytes
Sector size (logical/physical): 512 bytes / 4096 bytes
I/O size (minimum/optimal): 4096 bytes / 4096 bytes
Disklabel type: gpt
Disk identifier: 1A859681-08C1-C644-84D7-3186DC68E47C

Device           Start         End     Sectors  Size Type
/dev/sdb1         2048 15628036095 15628034048  7.3T Solaris /usr & Apple ZFS
/dev/sdb9  15628036096 15628052479       16384    8M Solaris reserved 1
and then finally get the temperature readings for that drive using
sudo hddtemp /dev/sdb
/dev/sdb: ST8000VN004-2M2101: 33°C
And that’s it! Your Ubuntu Server is up and running an you can start installing software and go ham. Have fun in the world of endless possibilities of Linux 🙂
The sudo snaps remove doesn’t work. The option doesn’t seem to be valid. I went searching and found this article that has a different approach to removing the default snaps and disabling the snap server. You might want to revise your instruction to follow this approach. Also, the snaps core service is unmounted before doing the purge. You also need to find the core id using df for this step.
https://www.kevin-custer.com/blog/disabling-snaps-in-ubuntu-20-04.
Interesting, I haven’t had any issues removing snap using the approach shown in this tutorial on two different systems. I think that you will only run into problems if you attempt to remove the core snap before removing all other snaps. I will update the text to reflect this asap.
Hello Roman, thank you for your tutorial. I am still having issues with removing the snap, the last step is not working.
I will try it on another system and will let you know
Thanks